

How to Make a Ecommerce Website in WordPress 2025:- Creating an eCommerce website using WordPress is a straightforward process, thanks to various plugins and themes designed for online stores. Here’s a step-by-step guide to help you get started:
Step 1: Choose a Domain Name and Hosting
Select a Domain Name: Pick a unique name that reflects your brand.Choose a Hosting Provider: Look for WordPress-friendly hosting services (like Bluehost, SiteGround, or WP Engine) that support eCommerce.
Step 2: Install WordPress
Most hosting providers offer one-click WordPress installation. Follow their instructions to install WordPress on your domain.
Step 3: Select an eCommerce Plugin
WooCommerce: This is the most popular eCommerce plugin for WordPress.
- Install it from the WordPress dashboard by going to Plugins > Add New, searching for “WooCommerce,” and clicking “Install Now.”
- Activate the plugin once installed.
Step 4: Configure WooCommerce
Setup Wizard: After activation, WooCommerce will guide you through the initial setup. You’ll configure settings like:
- Currency
- Payment options (PayPal, Stripe, etc.)
- Shipping methods
- Tax settings
Step 5: Choose and Install a Theme
Select an eCommerce Theme: Choose a theme that is compatible with WooCommerce. Some popular options include:
- Astra
- OceanWP
- Storefront (the official WooCommerce theme)
Install the Theme: Go to Appearance > Themes > Add New, search for your chosen theme, and click “Install.”
Step 6: Customize Your Site
Customize Appearance: Go to Appearance > Customize to change your site’s layout, colors, fonts, and more.Add Pages: Create essential pages like:
- Home
- Shop
- About
- Contact
- Privacy Policy
Step 7: Add Products
Go to Products > Add New to start adding your products.
- Enter product name, description, price, and images.
- Set product categories and tags for organization.
- Configure inventory and shipping settings if applicable.
Step 8: Configure Additional Settings
Set Up Payment Gateways: Go to WooCommerce > Settings > Payments to configure your payment methods.Shipping Options: Under WooCommerce > Settings > Shipping, set up shipping zones and rates.Tax Settings: If applicable, configure tax options under WooCommerce > Settings > Tax.
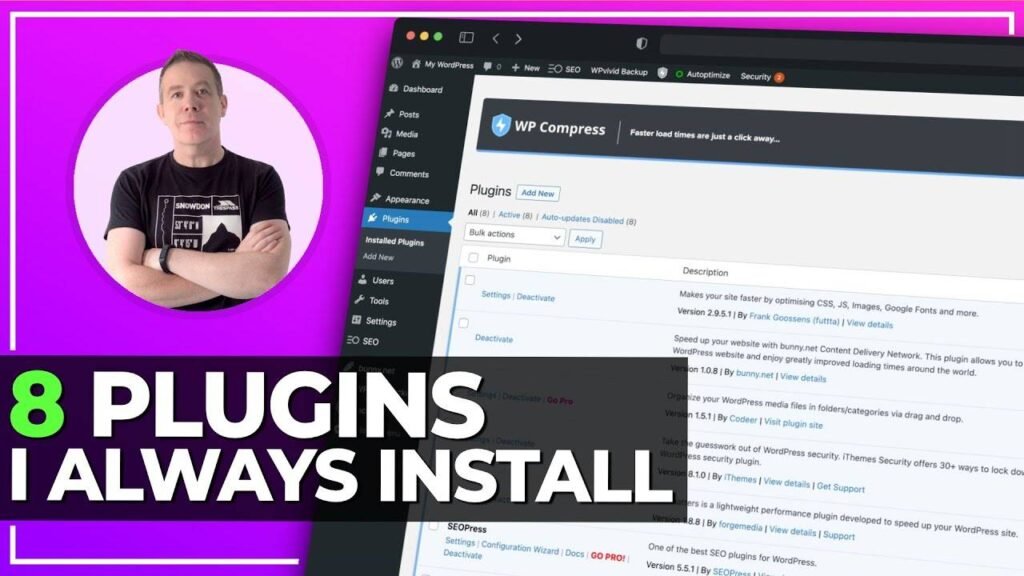
Step 9: Install Additional Plugins
SEO Plugin: Install an SEO plugin like Yoast SEO to optimize your site for search engines.Security Plugin: Use a security plugin like Wordfence to protect your site.Backup Plugin: Consider a backup solution such as UpdraftPlus to ensure your data is safe.
Step 10: Test Your Site
Place test orders to ensure that the entire purchasing process works smoothly, including payment processing and email notifications.
Step 11: Launch Your Site
Once you’re satisfied with your site, promote it via social media, email marketing, and other channels to attract customers.
Step 12: Monitor and Optimize
Use tools like Google Analytics to monitor traffic and sales.Continuously optimize your site based on user feedback and analytics.
How to Make a Ecommerce Website in WordPress 2025:- Tips for Success
- Responsive Design: Ensure your theme is mobile-friendly.
- High-Quality Images: Use professional images to showcase your products.
- Clear Navigation: Make it easy for customers to find what they need.
- Customer Support: Consider adding live chat or a help center.
By following these steps, you’ll be well on your way to launching a successful eCommerce website on WordPress! If you have any questions or need further assistance, feel free to ask!
Creating a detailed eCommerce website using WordPress involves several steps. Here’s a comprehensive guide to walk you through the process from start to finish.
Step 1: Choose a Domain Name and Hosting
Domain Name:
- Choose a unique, memorable name that represents your business.
- Check availability using a domain registrar like Namecheap or GoDaddy.
Web Hosting:
- Select a reliable WordPress hosting provider (e.g., Bluehost, SiteGround, or WP Engine).
- Sign up for a hosting plan that fits your needs, typically starting with shared hosting for new sites.
Register Your Domain:
- Most hosting providers offer free domain registration for the first year. Follow their instructions to register your domain during the sign-up process.

Step 2: Install WordPress
One-Click Installation:
- Most hosts have a one-click WordPress installation option.
- In your hosting account dashboard, find the WordPress installer and follow the prompts to install WordPress on your domain.
Manual Installation (if needed):
- Download WordPress from wordpress.org.
- Upload it to your hosting account via FTP or File Manager.
- Create a MySQL database and user for WordPress.
- Configure
wp-config.phpto connect to the database. - Access your site via your domain to complete the installation.

Step 3: Choose and Install an eCommerce Plugin
nstall WooCommerce:
- Log in to your WordPress dashboard.
- Navigate to Plugins > Add New.
- Search for “WooCommerce,” click “Install Now,” and then “Activate.”
WooCommerce Setup Wizard:
- After activation, a setup wizard will guide you through initial configurations, including:
- Store setup (location, currency, etc.)
- Payment options (PayPal, Stripe, bank transfer)
- Shipping settings (shipping zones, methods)
- Tax settings

Step 4: Select and Install a Theme
Choose a Theme:
- Look for a WooCommerce-compatible theme. Popular choices include:
- Astra
- OceanWP
- Storefront (free and designed specifically for WooCommerce)
Install the Theme:
- Go to Appearance > Themes > Add New.
- Search for your chosen theme, click “Install,” and then “Activate.”

Step 5: Customize Your Website
Customize Appearance:
- Navigate to Appearance > Customize to modify your theme settings (logo, colors, typography, etc.).
Create Essential Pages:
- Create the following pages under Pages > Add New:
- Home: Overview of your store, featured products.
- Shop: Automatic page created by WooCommerce displaying products.
- About Us: Information about your business.
- Contact Us: Form for inquiries.
- Privacy Policy: Outline how you handle customer data.
- Terms and Conditions: Important legal information.

Step 6: Add Products to Your Store
Add a Product:
- Go to Products > Add New.
- Fill in product details:
- Product Name: The name of the product.
- Description: A detailed description.
- Product Data: Set product type (simple, variable, grouped, etc.).
- Price: Set the regular and sale prices.
- Images: Upload high-quality images.
- Categories and Tags: Organize products for easier navigation.
Publish the Product:
- Click “Publish” to make the product live on your site.

Step 7: Configure WooCommerce Settings
Payment Settings:
- Go to WooCommerce > Settings > Payments.
- Enable your preferred payment gateways (e.g., PayPal, Stripe).
- Set up API keys as required by each payment provider.
Shipping Settings:
- Navigate to WooCommerce > Settings > Shipping.
- Add shipping zones, methods, and rates according to your business model.
Tax Settings:
- Under WooCommerce > Settings > Tax, configure tax options (if applicable).

Step 8: Install Essential Plugins
SEO Plugin:
- Install Yoast SEO or Rank Math for on-page SEO optimization.
Security Plugin:
- Use a plugin like Wordfence or Sucuri for security enhancements.
Backup Plugin:
- Install UpdraftPlus or BackWPup for regular backups of your site.
Caching Plugin:
- Use a caching plugin like WP Super Cache or W3 Total Cache for improved performance.
Step 9: Optimize Your Site for SEO
Optimize Pages:
- Use the SEO plugin to optimize product pages and content for relevant keywords.
Submit Sitemap:
- Submit your sitemap to Google Search Console to help with indexing.

Step 10: Test Your Website
Test Purchase Process:
- Go through the checkout process as a customer to ensure everything works correctly.
- Test payment gateways and email notifications.
Mobile Responsiveness:
- Check how your site looks and functions on mobile devices.

Step 11: Launch Your Site
Announce Your Launch:
- Use social media, email newsletters, and other marketing channels to announce your website launch.
Monitor Traffic:
- Set up Google Analytics to track visitor behavior and sales.

Step 12: Ongoing Maintenance and Optimization
Regular Updates:
- Keep WordPress, themes, and plugins updated to ensure security and functionality.
Monitor Performance:
- Use tools like Google Analytics and performance testing tools to monitor your site.
Customer Support:
- Implement a support system (live chat, FAQs) to assist customers.

Tips for Success
High-Quality Content: Use engaging images and detailed product descriptions.Clear Navigation: Ensure users can easily find what they need.Email Marketing: Build a list to communicate with your customers and promote sales.
| How to make Money Online | Click Here |
| Hostinger Ofiicial Website | Click Here |
| Keyword Generator | Click Here |
| E-Commerce website for Example | Link 1 / Link 2 / Link 3 |
| Create an Ixigo User Id | Click Here |
| Join Instagram For all Update | Click Here |
| Join Whatsapp Channel | Click Here |
| Home Page | Click Here |