

All Steps are Follow How to Make a New website in WordPress
1.Make a New website in WordPress:- Choose a Domain Name and Hosting
Domain Name: Pick a unique name that reflects your brand or purpose.Hosting: Choose a reliable hosting provider (like Bluehost, SiteGround, or WordPress.com) that offers easy WordPress installation.
2.Make a New website in WordPress:- Install WordPress
Many hosting providers offer one-click WordPress installations. Follow their instructions to set it up.Alternatively, you can download WordPress from wordpress.org and upload it to your server if you prefer manual installation.
3.Make a New website in WordPress:- Access the WordPress Dashboard
After installation, access your WordPress dashboard by visiting yourdomain.com/wp-admin and logging in with your credentials.
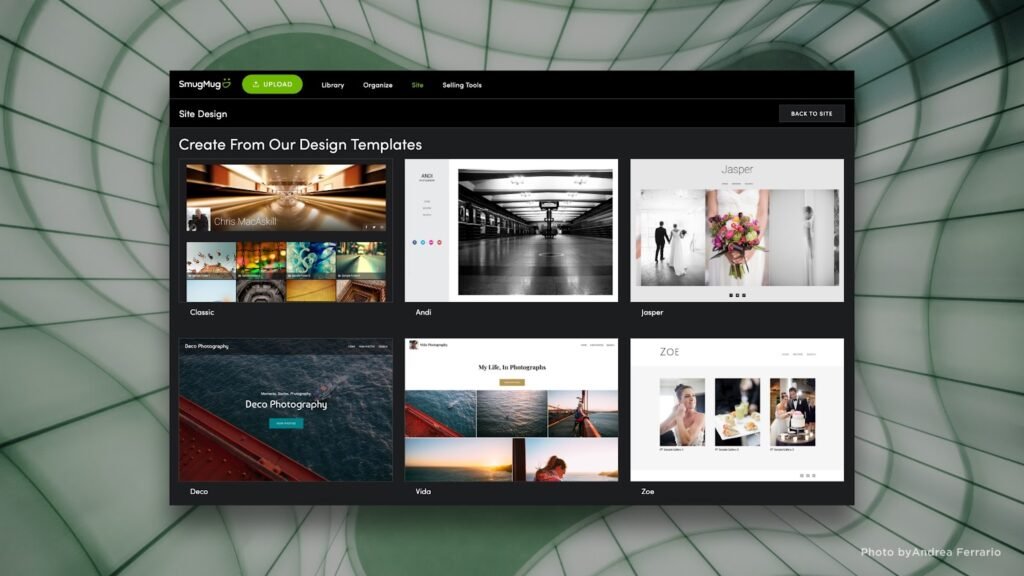
4.Make a New website in WordPress:- Choose a Theme
Go to Appearance > Themes to browse available themes. You can choose a free theme or purchase a premium one.Install and activate your chosen theme.
5.Make a New website in WordPress:- Customize Your Site
Go to Appearance > Customize to modify your site’s appearance (site title, tagline, colors, header, etc.).Some themes may have additional customization options.
6.Make a New website in WordPress:- Install Essential Plugins
Go to Plugins > Add New and search for essential plugins to enhance your site’s functionality, such as:
- Yoast SEO (for search engine optimization)
- Contact Form 7 (for contact forms)
- WooCommerce (if you’re setting up an online store)
7. Make a New website in WordPress:- Create Important Pages
Go to Pages > Add New to create essential pages like:
- Home
- About
- Services/Products
- Blog
- Contact
8. Make a New website in WordPress:- Set Up Navigation Menus
Go to Appearance > Menus to create a menu for easy navigation. Add your important pages to the menu and place it in the desired location (header, footer, etc.).
9. Make a New website in WordPress:- Configure Settings
Go to Settings > General to set your site title, tagline, and timezone.Check Settings > Reading to set your homepage (a static page or latest posts).
10. Make a New website in WordPress:- Publish Your Site
Before going live, double-check everything. Once you’re ready, you can either:
- Make your site public if it was initially set to private.
- Share your site link with friends or on social media to get feedback.
11. Make a New website in WordPress:- Regularly Update and Maintain Your Site
Keep WordPress, themes, and plugins updated to ensure security and functionality.Regularly back up your site to prevent data loss.
| Join Instagram | Click Here |
| Join Whatsapp | Click Here |
| Home Page | Click Here |
Step 1: Choose a Domain Name and Hosting
1.1 Domain Name
What is it?: A domain name is your website’s address on the internet (e.g., www.yourwebsite.com).Tips:
- Keep it short, memorable, and relevant to your brand or topic.
- Check availability using domain registration sites like GoDaddy, Namecheap, or your hosting provider.
1.2 Hosting
What is it?: Web hosting is a service that stores your website’s files and makes them accessible on the internet.Popular Hosting Providers:
- Bluehost: Recommended by WordPress, offers a free domain for the first year.
- SiteGround: Known for excellent customer support.
- WP Engine: A premium managed WordPress hosting provider
Step 2: Install WordPress
2.1 One-Click Install
Most hosting providers offer a one-click installation option:
- Log in to your hosting account.
- Find the WordPress installation option (often under “Website” or “WordPress”).
- Select the domain you want to install WordPress on and follow the prompts.
2.2 Manual Installation (if needed)
1.Download WordPress: Visit wordpress.org and download the latest version.
2.Upload Files:
- Use an FTP client (like FileZilla) to upload the WordPress files to your server.
3.Create a Database:
- Access your hosting control panel (cPanel).
- Find the MySQL Databases section.
- Create a new database and user, and assign the user to the database.
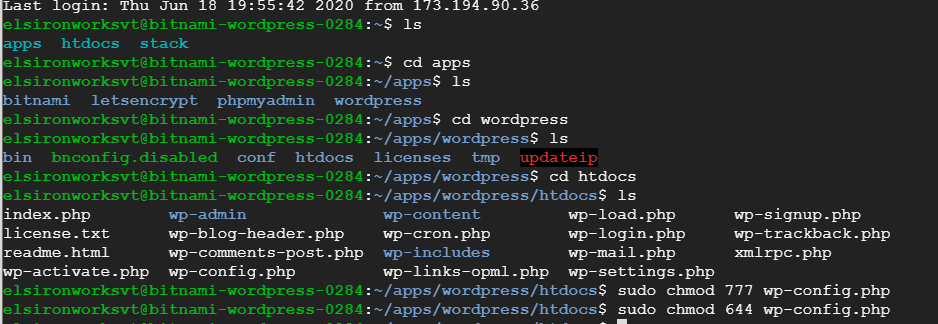
4.Configure wp-config.php:
- Rename
wp-config-sample.phptowp-config.php. - Fill in your database details.
5.Run the Installation:
- Go to your domain name (e.g., www.yourwebsite.com).
- Follow the on-screen instructions to complete the installation.
Step 3: Access the WordPress Dashboard
Go to yourdomain.com/wp-admin.Log in with the username and password you set during installation.
Step 4: Choose a Theme
4.1 Explore Themes
- Go to Appearance > Themes.
- Click on Add New to browse free themes.
- Use the search bar or filter options to find themes suited to your needs.
4.2 Install and Activate
- Click Install on your chosen theme.
- After installation, click Activate to set it as your current theme.
4.3 Premium Themes
- If you prefer premium themes, consider marketplaces like ThemeForest or Elegant Themes. Follow their instructions for installation.

Step 5: Customize Your Site
5.1 Theme Customizer
- Go to Appearance > Customize.
- Here, you can adjust various settings like:
- Site Title and Tagline
- Logo and Site Icon
- Colors and Fonts
- Header Image
- Menus
5.2 Additional Customization
- Some themes come with their own settings panel for more advanced customization. Check under Appearance or Theme Options.
Step 6: Install Essential Plugins
6.1 Adding Plugins
- Go to Plugins > Add New.
- Search for essential plugins and install them:
- Yoast SEO or Rank Math for SEO optimization.
- Contact Form 7 for contact forms.
- WooCommerce if you plan to sell products.
- Wordfence Security for added security.
- UpdraftPlus for backups.
6.2 Activate Plugins
- After installation, click Activate to enable the plugin.

Step 7: Create Important Pages
7.1 Adding Pages
- Go to Pages > Add New.
- Create essential pages such as:
- Home: Overview of your site or services.
- About: Information about you or your business.
- Services/Products: Detailed descriptions of your offerings.
- Blog: If you plan to publish articles.
- Contact: Provide ways for visitors to reach you.
7.2 Formatting Pages
- Use the WordPress Block Editor (Gutenberg) to format your content.
- Add headings, images, videos, and other media as needed.
Step 8: Set Up Navigation Menus
8.1 Creating Menus
- Go to Appearance > Menus.
- Create a new menu and add your important pages.
- Assign the menu to a location (e.g., Primary Menu).

Step 9: Configure Settings
9.1 General Settings
- Go to Settings > General to set:
- Site Title
- Tagline
- Email Address
- Timezone
9.2 Reading Settings
- Go to Settings > Reading to set your homepage:
- Choose a static page or display your latest posts.
9.3 Permalinks
- Go to Settings > Permalinks and choose the URL structure you prefer (Post name is recommended for SEO).
Step 10: Publish Your Site
Once you’ve set everything up, double-check all content and settings.If your site was in a staging mode, change it to public.Share your website link on social media or with friends to gather feedback!

Step 11: Regularly Update and Maintain Your Site
Updates: Regularly update WordPress, themes, and plugins.Backups: Schedule regular backups using plugins like UpdraftPlus or through your hosting provider.Security: Keep security plugins updated and perform regular scans.
Make a New website:- Additional Tips for Success
- Content Quality: Focus on creating valuable, engaging content for your audience.
- SEO: Implement basic SEO strategies to improve visibility.
- Engagement: Encourage comments and interaction from visitors.
- Analytics: Set up Google Analytics for tracking website performance.
Make a New website:- Some important Link
| What is Dropshipping ? | click here |
| Facebook Page Kaise Banaya Jata Hai | click here |
| What is Freelancing | click here |
| Hostinger Purchage Link | click here |
| What is Affiliate Marketing | click here |
| Home Page | click here |