
How to create an ixigo User ID 2025, Important Steps:-
- Download the App: Install the ixigo app from the Google Play Store or Apple App Store.
- Open the App: Launch the ixigo app on your device.
- Sign Up: Look for the “Sign Up” or “Register” option on the home screen.
- Enter Details: Fill in the required details, such as your name, email address, and phone number. You may also be asked to create a password.
- Verification: You might receive a verification code via SMS or email. Enter this code to verify your account.
- Complete Profile: Once verified, you can complete your profile with additional information if needed.
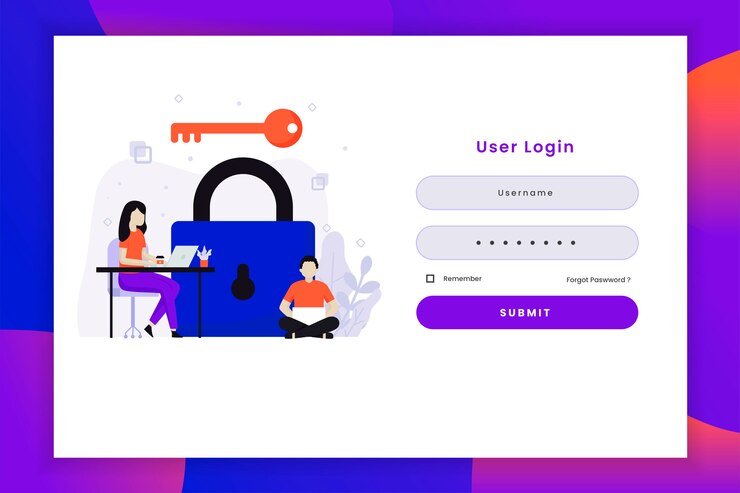
- Log In: After setting up your account, you can log in using your new user ID and password.
That’s it! You’re now ready to use ixigo for your travel needs.
Sure! Here’s a detailed step-by-step guide to create an ixigo user ID:
Step 1: Download the ixigo App
For Android Users:
- Open the Google Play Store.
- Search for “ixigo”.
- Tap on Install to download the app.
For iOS Users:
- Open the Apple App Store.
- Search for “ixigo”.
- Tap on Get to download the app.

Step 2: Open the App
Once the app is installed, tap on the ixigo icon to open it.
Step 3: Start the Registration Process
On the home screen, look for the Sign Up or Register button. This is typically located on the welcome screen.

Step 4: Provide Your Information
Choose a Registration Method:
- You may have options to sign up using your Email, Phone Number, or social media accounts like Facebook or Google.
Fill in Your Details:
- Name: Enter your full name.
- Email Address: Provide a valid email address.
- Phone Number: Enter your mobile number (make sure it’s active for verification).
- Password: Create a strong password (usually at least 6-8 characters, including letters and numbers).

Step 5: Verification
- After submitting your details, you’ll receive a verification code:
- If you registered with your phone number, you’ll receive an SMS.
- If you registered with your email, check your inbox for a verification email.
- Enter the Code: Input the verification code into the app.
- Submit: Tap on Verify or Submit.

Step 6: Complete Your Profile (Optional)
Once verified, you may be prompted to fill out additional profile details:
- Profile Picture: Optionally upload a photo.
- Travel Preferences: You might be asked about your travel preferences to personalize your experience.

Step 7: Finalize Registration
After completing your profile, tap on Continue or Done to finish the registration process.

Step 8: Log In
You can now log in using your new user ID (usually your phone number or email) and the password you created.
Tips:
Make sure to use a strong password for security.Keep your verification code handy during the process.If you encounter any issues, check for updates to the app or contact ixigo customer support.
| Homepage | Click Here |
| how to make a new apple account ? | Click Here |
| What is Freelancing ? | Click Here |
| How to earn While Studying ? | Click Here |
| Official Website | Click Here |